Complete Guide to Bathroom Faucet Installation and Repair
Installing and repairing a bathroom faucet might seem daunting, but with the right guidance, it can be a straightforward task. Whether you are replacing an outdated fixture or fixing a leaky faucet, understanding the basics of bathroom faucet installation and repair can save you time and money. This comprehensive guide will walk you through the essential steps and provide useful tips to ensure your bathroom faucet functions efficiently. For more in-depth information, you can read more about this topic.
Tools and Materials Needed
Before starting the installation or repair, gather the following tools and materials:
- Adjustable wrench
- Basin wrench
- Phillips and flathead screwdrivers
- Plumber's tape
- Silicone sealant
- Bucket
- New faucet (if replacing)
Ensuring you have these tools on hand will help streamline the process. Find additional information here about the necessary materials.
Step-by-Step Faucet Installation
Preparation
Start by turning off the water supply to the faucet. This is usually located under the sink. Open the faucet to drain any remaining water in the pipes. Place a bucket under the sink to catch any residual water during the disconnection process.
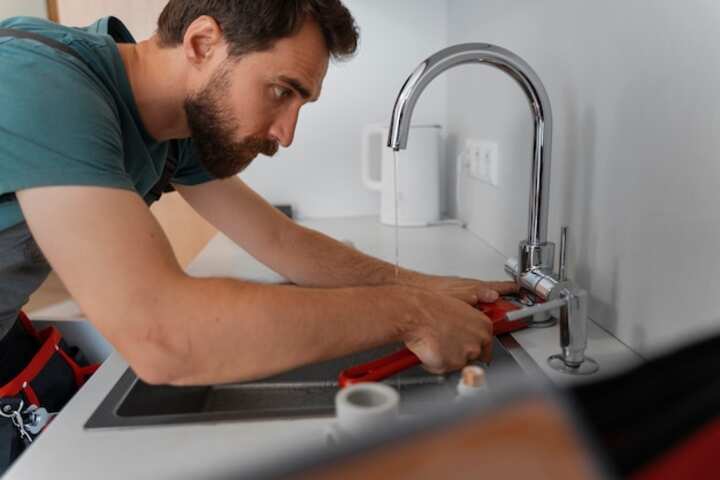
Removing the Old Faucet
Use the adjustable wrench to disconnect the water supply lines from the faucet. Remove the mounting nuts using a basin wrench and take out the old faucet. Clean the sink surface to ensure a proper seal for the new faucet. You can learn more in this detailed guide about removing old faucets efficiently.
Installing the New Faucet
Insert the new faucet through the mounting holes. Follow the manufacturer's instructions to secure the faucet in place with the provided nuts and washers. Reconnect the water supply lines, ensuring they are tightly fastened to avoid leaks. Apply plumber's tape to the threads for an extra seal.
After everything is secure, turn the water supply back on and check for leaks. If everything is in order, apply silicone sealant around the base of the faucet to create a watertight seal. Explore further insights here on faucet installation.
Common Faucet Repairs
Fixing a Leaky Faucet
Leaky faucets are a common issue and can often be resolved by replacing worn-out washers or seals. Disassemble the faucet handle, remove the stem or cartridge, and replace any damaged components. Reassemble the parts and test for leaks. Read more about this topic to identify specific repair needs.
Low Water Pressure
Low water pressure can result from mineral buildup in the aerator. Unscrew the aerator from the faucet spout, clean it thoroughly, and reinstall. If the problem persists, there may be an issue with the supply lines or valves. In such cases, consulting a professional is advisable. Learn more in this detailed guide on addressing pressure issues.
Maintenance Tips
Regular maintenance can extend the life of your bathroom faucet and prevent common issues:
- Check for leaks periodically and tighten connections as needed.
- Clean the aerator every few months to prevent mineral buildup.
- Avoid using harsh chemicals when cleaning the faucet to prevent damage.
For a comprehensive understanding of faucet maintenance, explore further insights here.
By following these steps and tips, you can successfully install and repair bathroom faucets, ensuring they function efficiently and last longer. For more information and specific guidance, find additional information here.